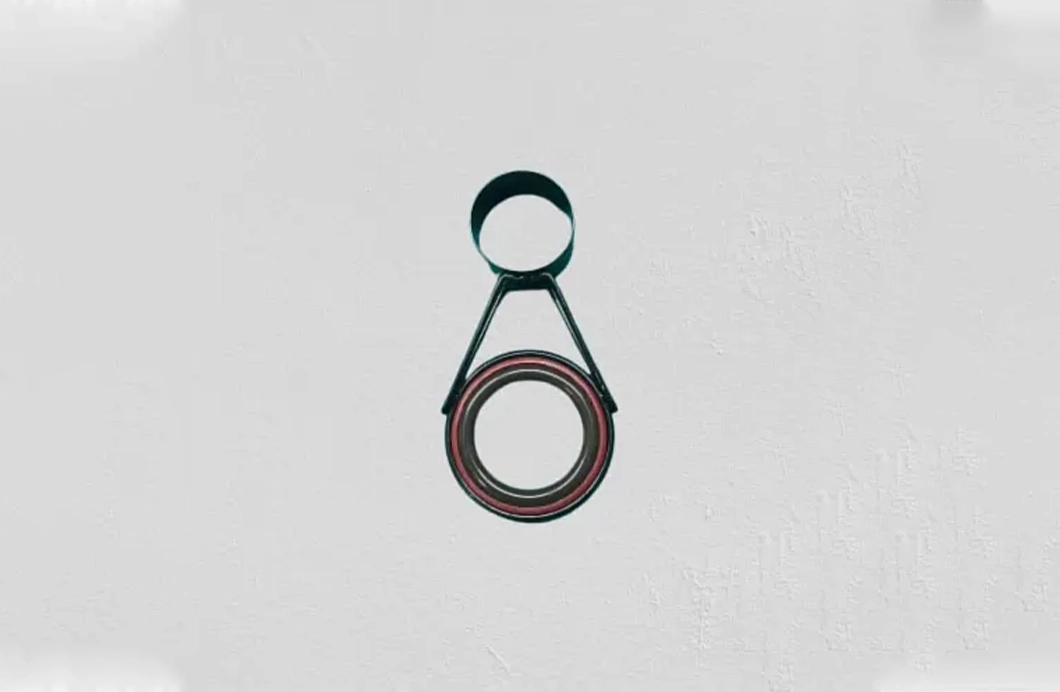
Jun
Replacing guides on a telescopic rod - Professional guide
Replacing the guides on a telescopic rod requires some patience and precision. This procedure is not exactly a routine operation and should be carried out carefully to preserve the structural integrity of the rod. However, sometimes it is worth investing a little effort and repairing the rod you have instead of buying a new one. We have a large selection of ceramic guides in our offer and they are currently on sale!
Follow this guide step by step.
1. Preparing the workspace
- Ensure a clean, well-lit work space
- Pripremite sve potrebne alate unaprijed:
- Šiljastu pincetu
- Mehanički fen (s mogućnošću niske temperature)
- Dvokomponentno ljepilo
- Medicinski alkohol 70%
- Meke, bezdlake krpe
- Set preciznih odvijača
2. Dismantling the rod
a) Initial inspection:
- Examine the rod closely to identify all connection points.
- Note the position of each guide.
b) Disassembly procedure:
- Place the stick horizontally on a soft surface.
- Unscrew the bottom cap (foot) counterclockwise
- Svaki segment odvajajte postepeno:
- Držite segment čvrsto ali bez primjene sile
- Laganim rotirajućim pokretima (5-10°) oslobađajte spoj
- Izbjegavajte naglo povlačenje
3. Removing existing guides
a) Thermal loosening:
- Set the mechanical hair dryer to 60-70°C.
- Heat the area around the guide evenly for 15-20 seconds.
- After warming up, wait 10 seconds before manipulating.
b) Extraction:
- Use tweezers to grasp the base of the guide.
- Apply an even pulling force along the rod axis.
- If necessary, use a scalpel, preferably sharp.
4. Preparing surfaces for the new guide
- Temeljito očistite ležišnu površinu:
- Prvo mehanički uklonite naslage
- Zatim obradite alkoholom
- Provjerite geometriju ležišta:
- Površina mora biti potpuno ravna
- Eliminirajte eventualne neravnine finim brusnim papirom (600+ grit)
5. Installation of new guides
a) Positional alignment:
- Position the guide precisely
- Ensure perfect symmetry of all guides
b) Gluing process:
- Apply a minimal amount of epoxy glue
- Place the guide in the intended position.
- Obratite pozornost na:
- Kut poravnanja
- Dubinu ugradnje
- Ravnomjernost raspodjele ljepila
6. Final processing and quality control
- After installation, allow 24 hours for polymerization.
- Provedite kontrolu:
- Vizualnu inspekciju
- Test rotacije
- Provjeru osne simetrije
For the final check:
- Perform a nylon line test with minimal load
- Check that the rod is folding and extending properly.
Safety notes:
- Never use heat above 80°C.
- Avoid using metal tools in direct contact with graphite parts
- If you are unsure of the procedure, contact an authorized service technician.
This professional approach ensures the long-term functionality of your telescopic rod and optimal fishing performance. Each step should be carried out with complete care and precision.
